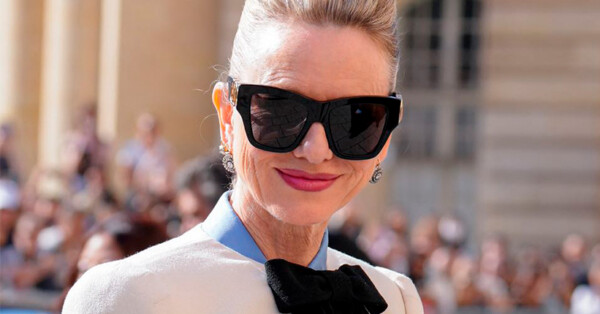
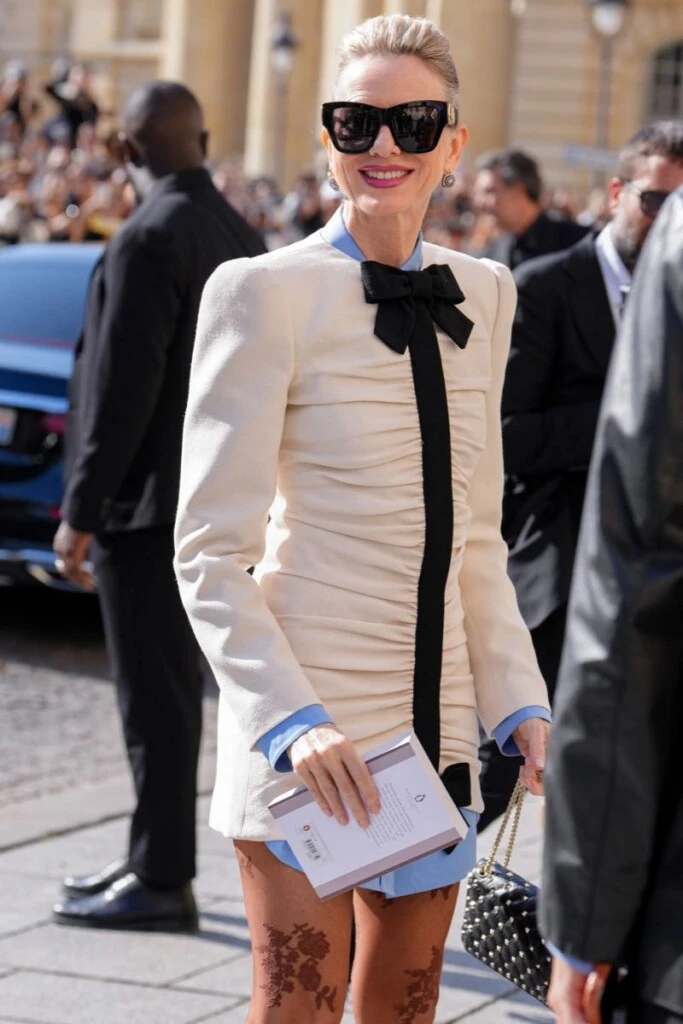
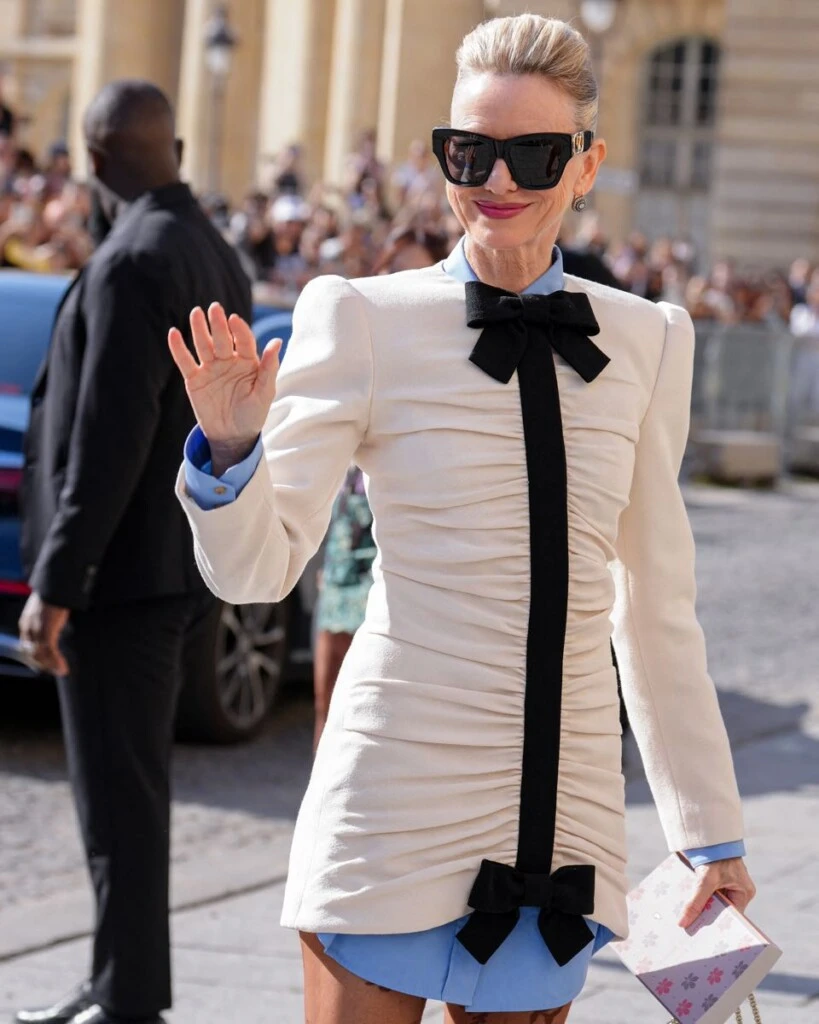
In a week when looks are observed from every angle, Naomi Watts chose a hairstyle that deserves a second look. To attend Valentino’s show in Paris, she complemented her white bow mini dress and lace stockings with an updo that added another special detail to the ensemble.
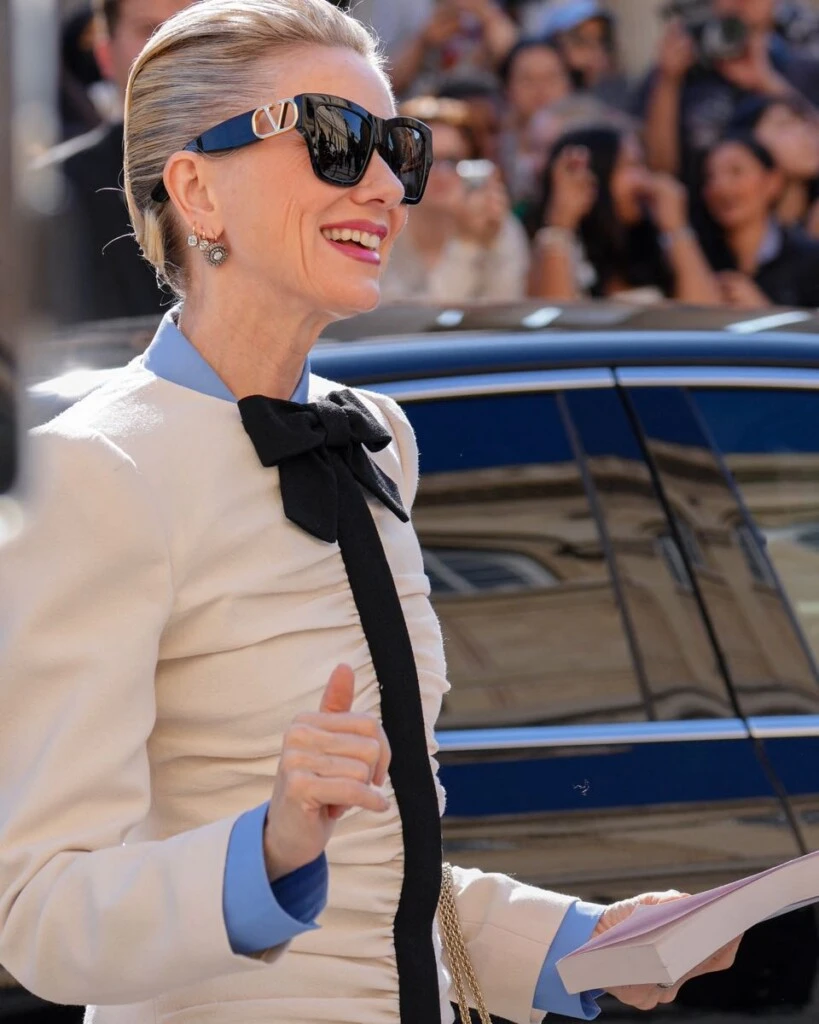
From the front and from the side, the hair appears swept back, with neat sides and a soft volume on top. But the surprise lies at the back: a wide strand runs down the center of the head and ends in two curves that flare out to the sides, drawing a shape that resembles a bow.
What Naomi Watts’s Original Updo Looks Like
The hairstyle combines a compact base with a finish of soft lines. The sides move toward the center of the back of the head, while a section of hair falls over it and conceals the structure of the updo.
At the nape, the tips separate and curve outward. That gesture gives movement to a polished-looking hairstyle and leaves the neck exposed.
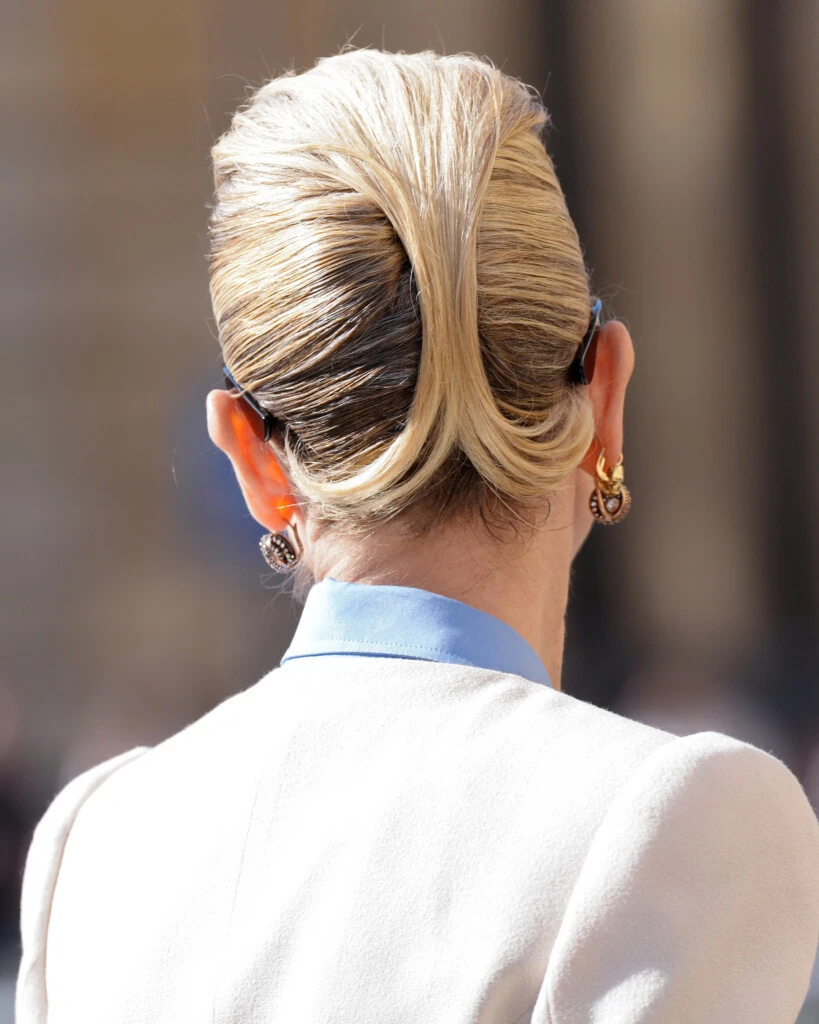
The bow effect is built from the hair itself: in the images you don’t see a fabric bow or a prominent accessory. The appeal lies in the shape the strands take and in the contrast between the neat base and the open ends.
With black sunglasses featuring thick arms and gold hoops, the updo also allows accessories to stand out without competing with the hair.
How to Recreate a Hairstyle Inspired by Naomi Watts
The photos allow you to appreciate the result, though they do not show how it was achieved. To achieve a version inspired by that effect, the idea is to work with a gathered base and reserve a top strand to build the central design.
1. Prepare the hair for a smooth finish
Detangle and perform a brushing to tidy the hair. If you use a blow dryer or flat iron, apply a heat protectant beforehand. Look for a smooth surface, but keep some movement to shape the ends.
2. Separate a top section
Set aside a wide strand from the crown up to the vertex. That section will cover the center of the updo and create the detail visible from the back.
3. Build a low, compact base
Pull the rest of the hair back, smoothing the sides with a brush. Secure it near the nape and fold the lengths inward, fixing them with bobby pins to form a small base.
4. Place the central strand
Brush the reserved section backward and lay it over the base. Leave a little air at the top to preserve that soft volume seen in the actress’s hairstyle.
5. Draw the curves of the ends
Divide the end of the central strand into two. Curve each part toward its respective side and secure it with hidden pins. You can help yourself with a small brush and a dryer to shape the ends before fixing them.
6. Set without crushing
Finish with a light layer of spray. The aim is to hold the curves and control stray hairs without losing the updo’s shape.
The key is to keep the nape drawing visible. It’s a detail that can transform a simple hairstyle into a special option for a party, a wedding, or an outing where you want the hair to take center stage.